
Quick start guide - checklist
Everything you need to know before you set up your hyve. Review this first for important setup steps, helpful tips, and key things to consider before assembly, app setup, and activation.

Assembly video
Download assembly guide
Assembly Manual
Everything you need to know before you set up your hyve. Review this first for important setup steps, helpful tips, and key things to consider before assembly, app setup, and activation.
Troubleshooting Assembly
Watch our step-by-step video to help troubleshoot common assembly and setup issue.
How to...
Setting up driver access


Setting up driver access
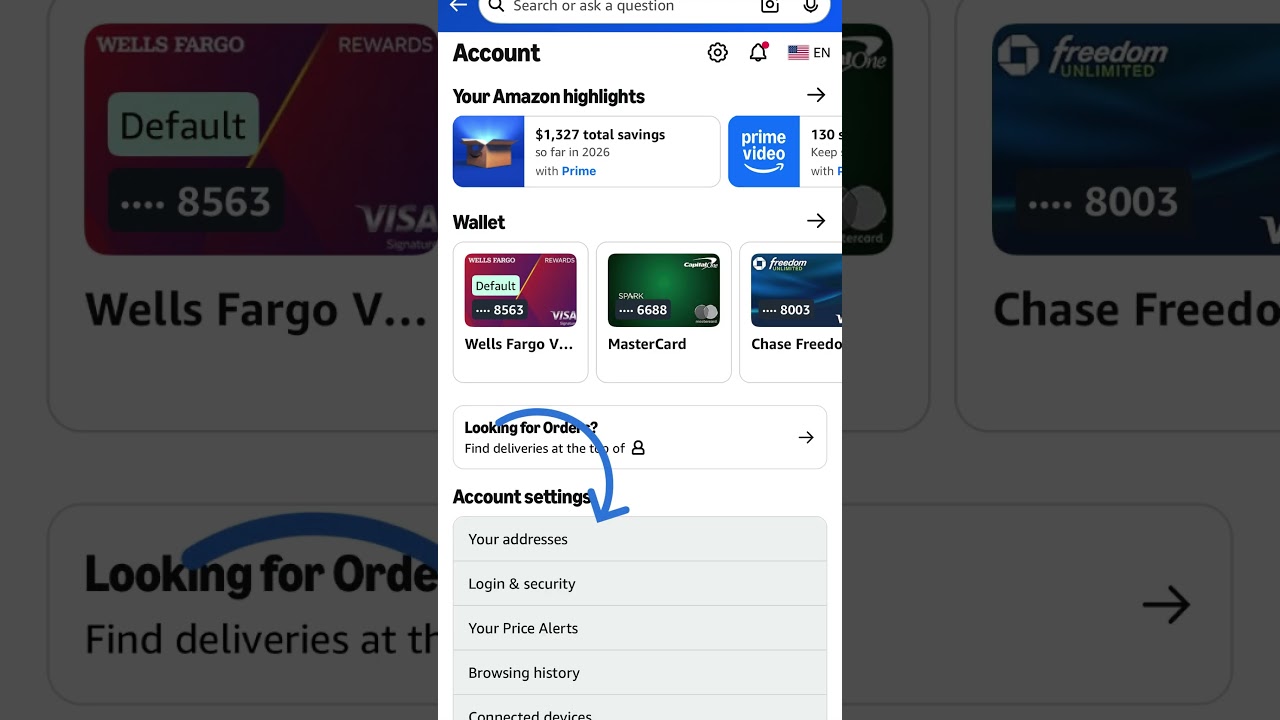
Add Your PIN to Delivery Apps
Most delivery services let you add delivery instructions to your account. Simply find that section in the carrier's app or website and add your unique 4-digit hyve PIN.
If you don't already have accounts with carriers like Amazon, FedEx, UPS, USPS, or other delivery services, we recommend creating them so drivers have access to your hyve PIN whenever they deliver to your home.
Tap the Copy button in the hyve app to automatically copy your vendor PIN along with the recommended delivery instructions, then simply paste them into the delivery instructions field.
If the delivery service limits how much you can enter, make sure your 4-digit PIN is included. Something as simple as "1234 on hyve package locker" works great.
Need a code for another delivery service? Simply create a Custom Vendor in the hyve app for any delivery service not already listed and add those instructions the same way.




how to do a return with hyve pick-up service
Check your zip code to see if hyve Pick-Up Service is available in your area
how to do a return with hyve pick-up service
- Included with a Premium hyve subscription
- Shipped directly to your home
- The yellow label tells the driver which packages are returns to be picked up
- Place one label on each return package
- We recommend scheduling pickups with Uber Courier
- Add notes for the driver to collect all packages marked with the yellow return label
- Uber Courier charges per pickup, not per return, so multiple returns can go in one trip for one small fee
- Order more labels anytime in the hyve app under Profile
How to do returns using Uber Courier
If you are not in a hyve Returns Day Pick Up Service location
How to do returns using Uber Courier
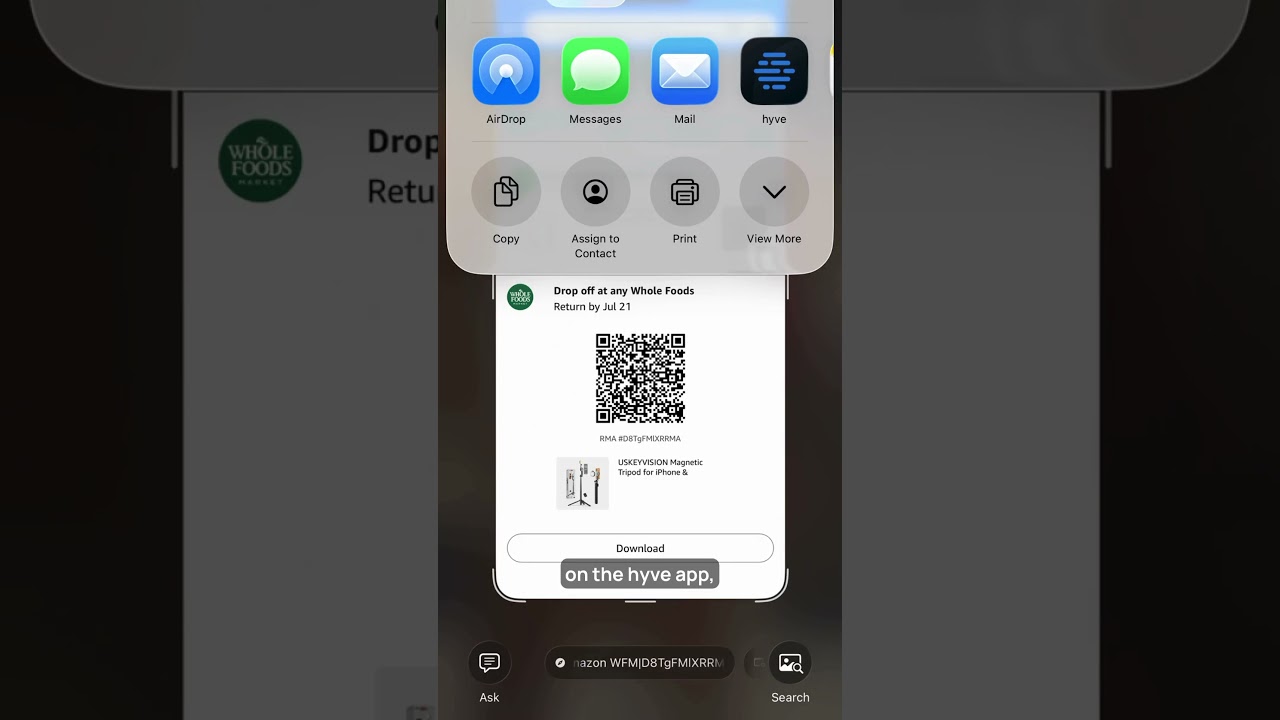
- Start the return with the retailer
- Print and attach the retailer’s return shipping label or QR code
- Add a hyve Smart Return Label to show the driver which package to pick up
- Group returns going to the same location in one bag
- Separate returns going to different locations into different bags
- Place the return package(s) inside your hyve
- Schedule an Uber Courier pickup in the Uber app
- Enter the correct return destination(s)
- Add clear pickup notes with your hyve access code
- Confirm all return packages are labeled and ready for pickup
Important: hyve Smart Return Labels are included with a Premium app subscription and can be reordered in the hyve app. We ship them directly to you. Each return package must also include the retailer’s return shipping label or QR code.
More info on subscriptions
More info on subscriptions
Free Plan - ($0/month)
The Free Plan gives you the basics needed to secure deliveries with your hyve. Create one Admin PIN that can be shared with delivery drivers to access your hyve, keeping packages protected from theft and weather. This plan does not include Wi-Fi connectivity, instant notifications, remote access, or custom vendor PINs, but it's a great way to get started with secure package delivery at no additional cost.
Essentials Plan - ($4.99/month)
The Essentials Plan unlocks the full smart delivery experience. Create unique PINs for each delivery service you use, including Amazon, UPS, FedEx, USPS, Instacart, DoorDash, and more, so you always know who accessed your hyve. Receive instant notifications the moment a delivery is secured inside, share access with family members, and remotely manage your hyve through the app. Essentials gives you peace of mind by turning package delivery into a seamless, worry-free experience.
Returns Plan ($14.99/month)
The Returns Plan includes everything in Essentials, plus access to hyve Returns, our convenient at-home return pickup service available in select locations. Simply place your labeled returns inside your hyve, and our drivers will pick them up during scheduled pickup days twice each month and return them for you. No more trips to shipping stores, waiting in line, or running errands just to get your refund. Check your ZIP code on our website to see if hyve Returns is currently available in your area.
How to transfer admin
How to transfer admin
- The current Admin must first remove themselves from the hyve and complete a full factory reset before a new Admin can be added
- Open the hyve app
- Go to Profile
- In Settings, scroll to the bottom and select Remove hyve from your account
- Enter the current Admin PIN to confirm
- After confirmation, the hyve will be removed from the current Admin’s account
- The lid will pop open
- The previous Admin PIN will no longer work
- The lock will reset to the factory preset PIN: 1-2-3-4
- Press and hold the small reset button on the underside of the lock with a pen until you hear it beep
- Press and hold the button on the Wi-Fi hub until all three lights flash yellow
- Once both resets are complete, the hyve is restored to factory settings
- Only after this process is complete can a new user download the hyve app, connect the hyve, and set it up as the new Admin
Important: hyve can only have one Admin at a time. A new Admin cannot be added until the current Admin has removed themselves from the account and completed the full factory reset process.
How to secure your hyve using the security tether
How to secure your hyve using the security tether
Need to extend your connection range?
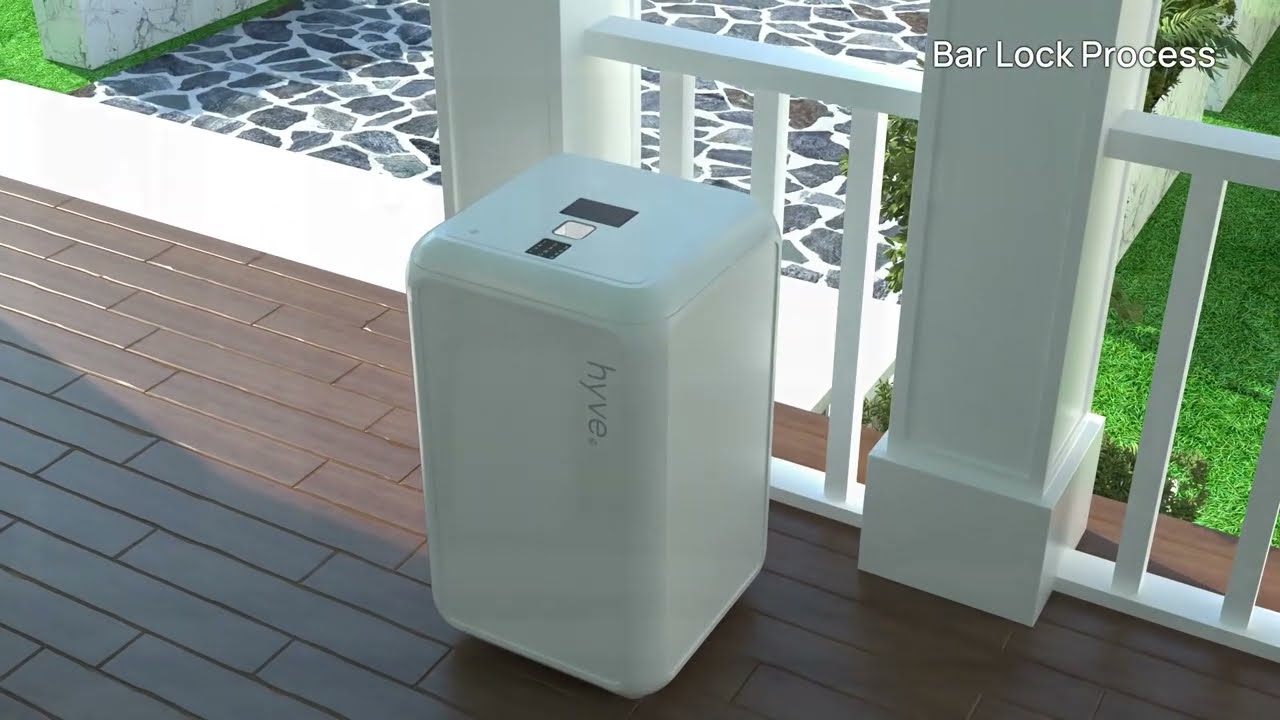
Out of the box, the hyve hub plugs into an indoor outlet and needs to stay close to your hyve. With an optional solar-powered setup, the hub moves outside and mounts right beside your hyve, so you can place it at the end of the driveway, by a gate, or anywhere else your Wi‑Fi covers.
Solar powers the hub. It doesn't create Wi‑Fi. Before you buy anything, stand where your hyve will go, connect your phone to your 2.4 GHz network and check that a web page loads reliably. If it doesn't, add a mesh node or outdoor extender where it still gets a strong signal from the house, and let it relay toward your hyve.
How it works
Check your Wi‑Fi
Confirm 2.4 GHz Wi‑Fi works at the exact spot where your hyve will live. Add a mesh node or extender if it doesn't.
Build the kit
Set the solar kit to 5V, plug the hub in with the adapter cable from the kit, bench-test it indoors, then place it in the weatherproof box.
Mount and test
Mount the panel in the sun and the box beside your hyve. Trigger a test and make sure the notification arrives.
DIY parts list
Everything you need to build it yourself, all available on Amazon. Listings and specs change, so double-check the details before you order.
-
View on Amazon15W solar panel kit with 16,000 mAh battery Required
Set it to 5V. The kit ships with Micro‑USB, USB‑C and DC adapter cables, so the hub plugs straight in — no separate cable or converter needed.
Search Amazon for:15W solar panel kit 16000mAh battery 5V USB output -
View on AmazonIP65 weatherproof junction box Required
About 5.9 × 5.9 × 3.5 in, ABS, with two cable glands. Check that your hub and the adapter cable fit before you drill or mount it.
Search Amazon for:IP65 waterproof junction box 5.9 x 5.9 x 3.5 cable gland -
Search AmazonStainless steel mounting screws Optional
Only if the hardware in the kit doesn't suit your post, fence or wall.
Search Amazon for:stainless steel exterior mounting screws assortment
Set the solar kit to 5V before you connect the hub. The recommended kit can output 5V, 6V, 9V or 12V. Never use 6V, 9V or 12V. If you can't confirm the active output, stop and contact the kit's manufacturer.
This is an optional, customer-developed setup using third-party products. hyve does not make or support the solar kit, enclosure or Wi‑Fi equipment. Follow each manufacturer's instructions and local codes. For permanent outdoor wiring, lightning protection or tricky networking, hire a qualified installer.
Driver signage

Download signage
There can be a short learning curve for drivers. Download and post this signage on your hyve to help drivers quickly spot and use it. If you see your driver, it also helps to point out your hyve and show them how it works.


Useful videos
Setting up vendor pins - driver access
Schedule a return pick-up

Securing your hyve. Universal Security Tether
Contact us
We’re here to help. Our chat feature is a great tool for quick answers to commonly asked questions, or you can contact us here and our team will be happy to assist.